`Tasty, perfectly creamy, but a dangerous caloric bomb – peanut butter is one of those foods we all love but are afraid of at the same time. Often correlated to obesity and weight gain, this spread is considered "wicked" simply because of its dense calorie volume and amount of fat involved. Having a balanced diet and preparing delicious & healthy meals every day is something we all strive for, but many are avoiding peanut butter because of these facts.
Try to explain to your seven-year-old (or your thirty-year-old) that too much peanut butter is bad, especially when you serve a yummy treat.
Even though it is high in calories and should be taken seriously, this tasty spread is more than a potential health hazard. Let's deconstruct and analyze peanut butter, and learn how to make it perfect.
Every. Single. Time.
More...
Is Peanut Butter Healthy?
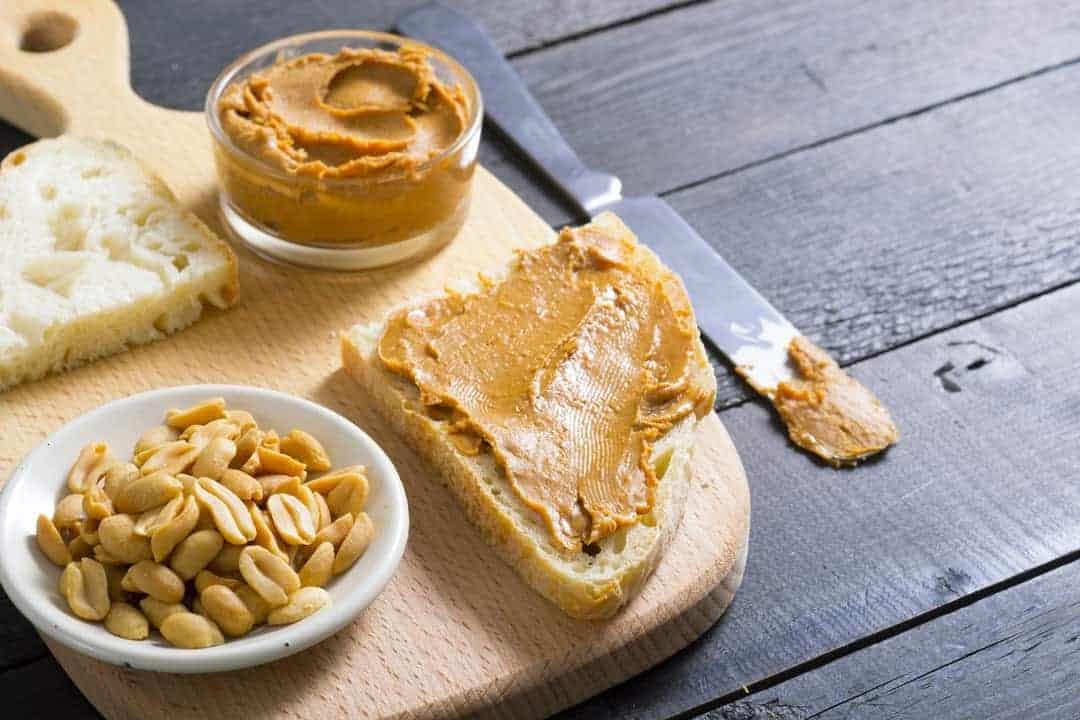
"If it tastes good, it's probably not healthy."
How many times have you heard this? I've witnessed this theory being correct for many times. Everything tasty we make can affect our health, and some of us are pretty upset about this fact. Especially when we talk about something drastic, which peanut butter certainly is. The caloric density combined with the amount of fat that this spread contains turns many heads away.
Peanut butter is delightful (especially when mixed with some non-conventional ingredients in creative recipes), but if you focus on the question above, the right answer is – absolutely! You don't have to worry about the negative effects if you're consuming it properly.
The unique taste and health benefits it brings are simply too good to be left out of your regular nutrition.
I am going to show you how to "cheat" and implement peanut butter into your diet, because believe it or not, peanut butter is very healthy. It can benefit your health in many ways.
The Fat That Is Good For You
There are two types of fat, the good and the bad one. Peanut butter contains a lot of unsaturated (good) fat, which contributes to various aspects of your health. First, your heart condition and overall cardiovascular functions. It reduces bad cholesterol and strengthens blood vessels around the heart. Second, your diet must contain calories that give you strength, and 30% of it should come from unsaturated fats, as medicine recommends. That is not all, the unsaturated fats ensure that your hormones are in the balance and help your organism to absorb vitamins more efficiently.
Could you ever imagine that peanut butter can be so good for you? That is only the beginning; let's go deeper and explore the health effects of the peanut butter.
The unsaturated fat in peanut may be the major reason why you can choose peanut butter. I understand that it is not easy to choose healthy sweet food. But you can still find some interesting ideas, one of them may be apple banana cake. The ingredients are available in any store and you can serve this food for your whole family as it is suitable for both children and adults.
Disease Prevention
Not only that the peanut butter is good for your health, but it also prevents many sorts of diseases from invading your body. Due to its high concentration of phytosterol, folic and phytic acid, peanuts prevent colon and possibly stomach, prostate, and lung cancer. As all organs in our body serve the one true master – brain, logically we should make sure that it is strong and healthy. Rich in niacin and vitamin E, it saves cognitive functions of the brain and lowers the chance of getting Alzheimer disease by 70% if consumed on a regular basis.
It Gives Energy And Strength But Can Get You Fat As Well
Although peanut butter is rich in proteins and calories, it gives you that magic feeling of being full very fast. If the workout is your thing, this is a great addition to your nutrition. It rhymes for a reason. It boosts testosterone hormone levels in your blood, which stimulates growth, enhances your blood flow, slows down aging, and increases your physical abilities. In addition, it gives you tons of energy for that one extra rep that counts the most. Be aware that all these advantages and good sides of peanut butter do not imply that you should sit down and eat a whole jar for one meal. I am sorry to crush your dreams, but you have to be responsible about your daily calorie intake.
All the food, even the healthiest one, can do some damage to your body if not managed accordingly. Two tablespoons of peanut butter are just about the right amount for one meal. Experiment, try adding them to a blender along with some fruits and low-fat milk, or you can put it on some whole grain bread slices, to make a tasty breakfast that gives you an energy boost for a hard working day.
Rich In Fiber
Fibers are indigestible portions of food extracted from plants. Two main components of dietary fibers are soluble and insoluble fibers. Soluble fibers are dissoluble in water. In the colon, they are fermented into the gases and bio-products. These bio-products are physiologically active. Soluble fibers cause the feeling of fullness and can postpone the process of colon unload.
Insoluble fibers are not dissoluble in the water. While moving through the digestive system, insoluble fibers absorb water and make defecation easier. Two tablespoons of the peanut butter approximately contain 2 grams of dietary fibers.
Consuming only peanut butter cannot provide the recommended daily fiber intake, but it can help supplement your meals. Fibers regulate healthy bowel movement and prevent many diseases like constipation, heart diseases, diabetes, and high cholesterol.
The advantages of consuming peanut butter are many, and you should not avoid it in your nutrition.
Making The Perfect Homemade Peanut Butter
Now that we have seen how healthy it is, let's look into making a perfect homemade peanut butter.
Tips For Choosing The Best Peanuts
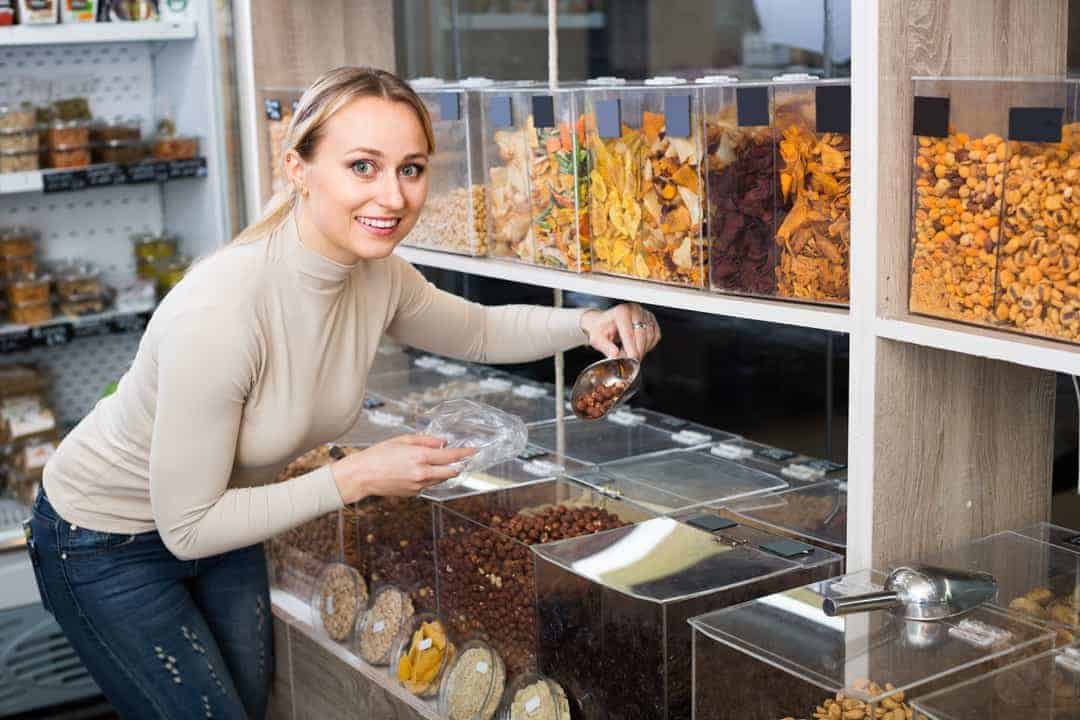
To make the best peanut butter, you will have to find the best possible peanuts. Surprisingly, finding the top-quality peanuts is not as simple as is it sounds. Let us look at some of the deciding factors and see how to make the best choice.
Expiration Date
Judging by the look, one would assume that peanuts can wait for you on the shell forever, but that is not entirely the case. Like any other food, in order to preserve the quality, peanuts need to be tightly sealed and preferably refrigerated. So, before you buy a pack of peanuts, check these two conditions. If they were properly stored, peanuts' shelf life past their sell-by date is approximately 6-9 months outside the fridge or up to two years if you put them into the freezer.
Skin Or No Skin
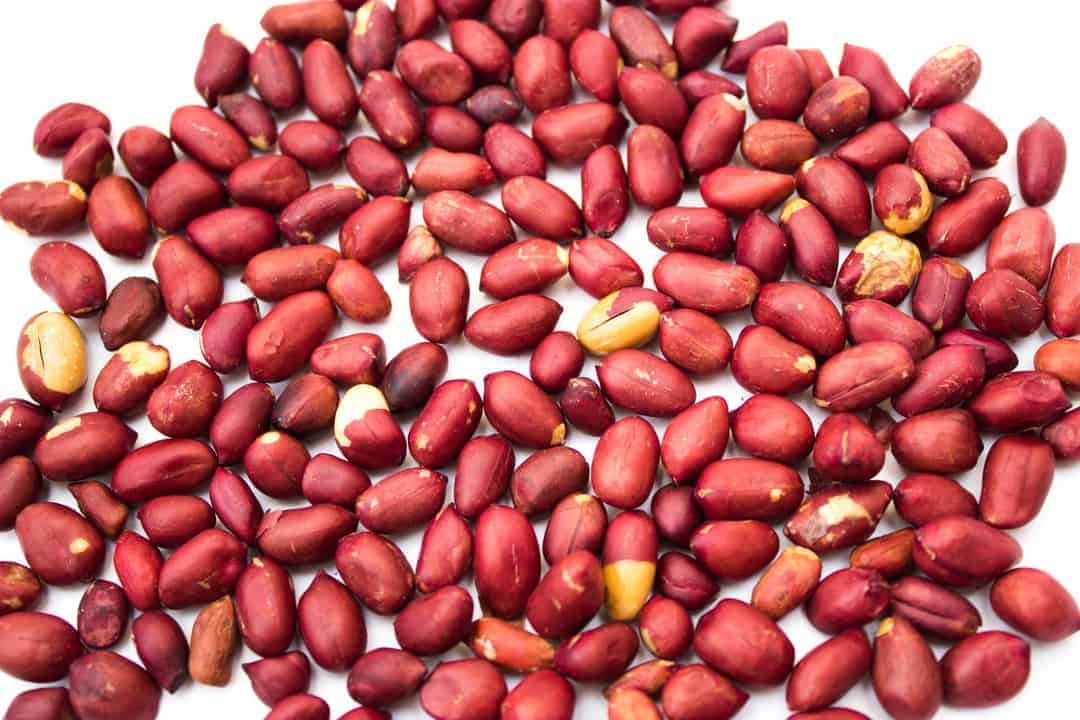
Although the peanut's skin was often considered a byproduct and fed to animals, the study from 2009 showed that roasting peanuts with their skin on improved their antioxidant properties. Unfortunately, if you want the best possible peanut butter, that is the segment you'll want to ignore. Although healthy, peanut skin contains oils that can become prematurely stale, and ruin the butter's flavor. In addition, the butter without the reddish specs is always considered of better quality.
Raw Or Commercial
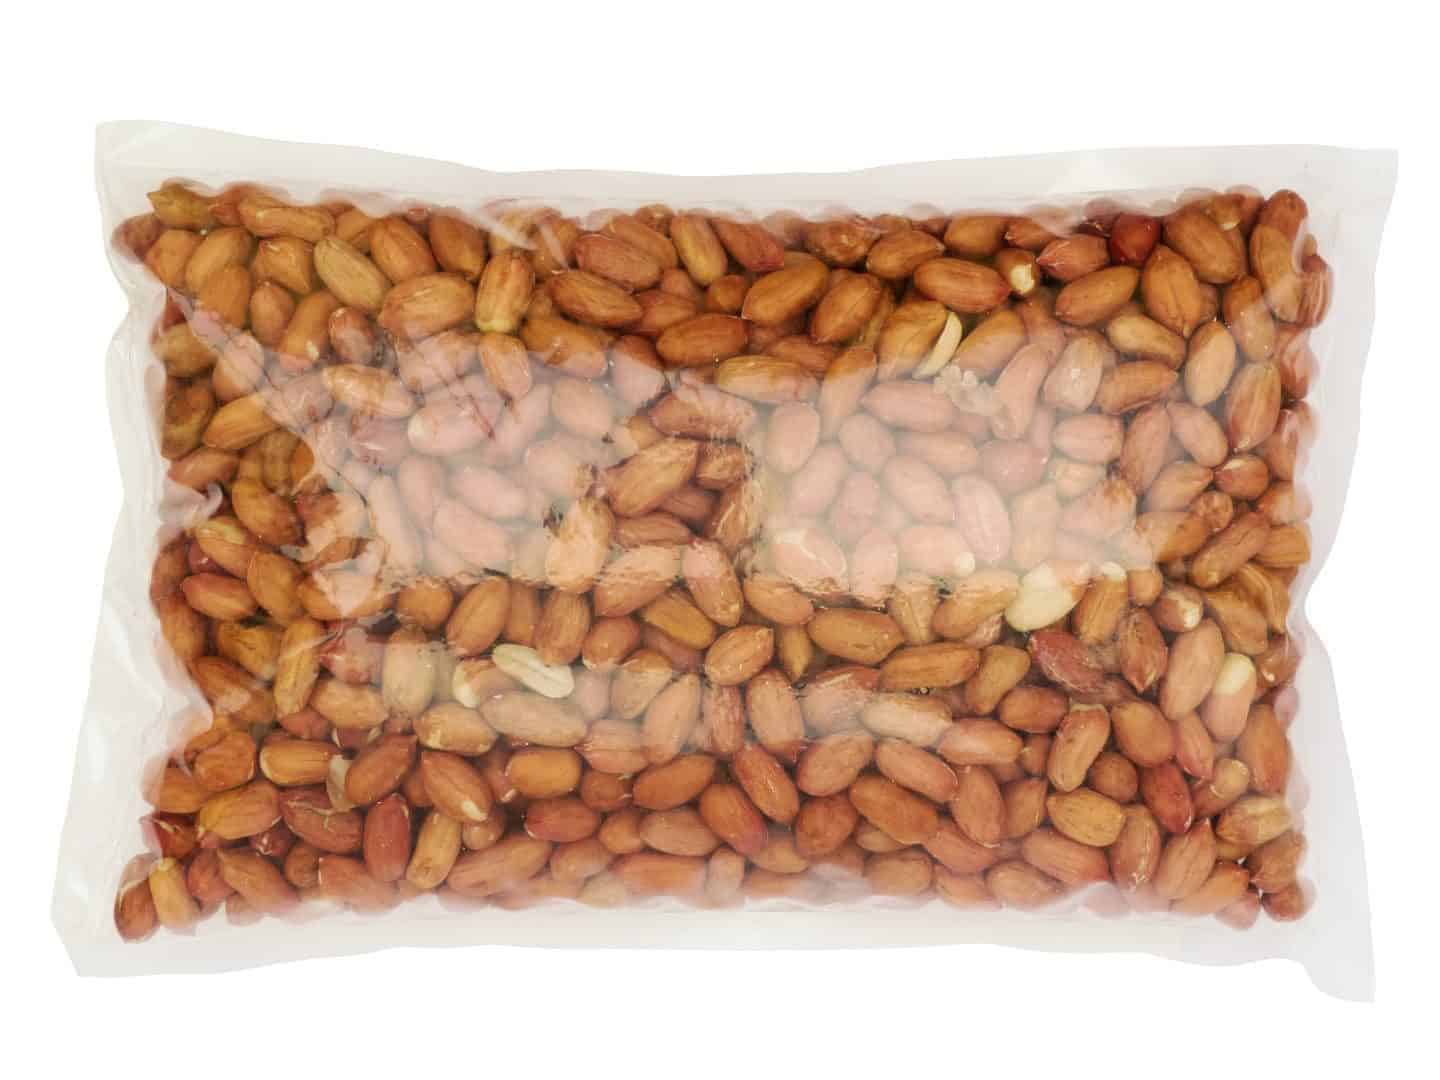
This is a real double-edged sword. The commercial peanuts have passed the various quality control tests, but they have already been processed which limits your options. Raw peanuts give you all the roasting and boiling freedom you want, and the nuts in the shell have the best taste.
Of course, the associated risk is much higher. If you eventually opt for the latter option be sure to buy only from the reliable farmers with long-lasting tradition.
Inspect The Peanuts
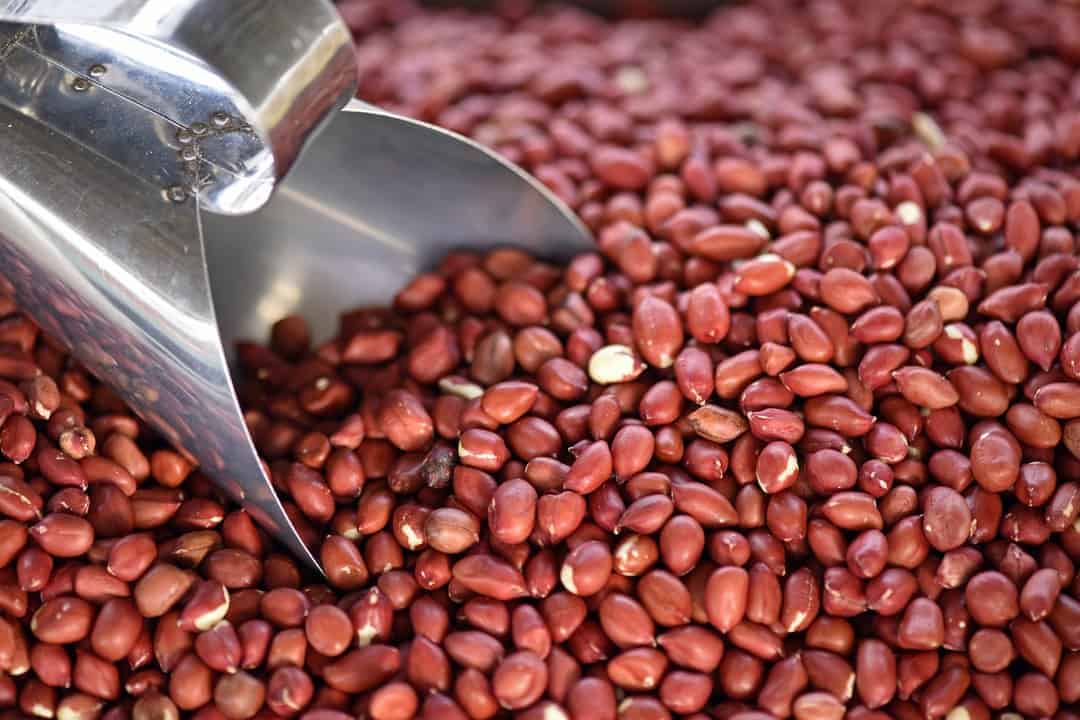
In general, peanuts should never be soft and slimy. If they are, the chances are that they are spoiled. When buying raw peanuts, be sure to take the shell off and inspect a couple of them. If one or more of them are spoiled, dismiss the entire bulk. Also, the healthy shells should feel reasonably heavy for their size. Inspecting commercial peanuts will prove to be much harder, but you will be able to recognize the spoiled packages by peanuts' pale and wrinkled surface.
The Type Of The Peanut
There are many types of commercially available peanuts, but they can all be roughly divided into four main groups:
- Runner peanuts
- Virgina peanuts
- Spanish peanuts
- Valencia peanuts
Although the Runner peanuts are the traditional go-to variety when it comes to butter (54% of all grown runners end up in a jar of butter), all these nuts have their distinct flavor and can be used for butter. For example, if you're after the sweet flavor, you should go with Valencia nuts. Try them all out before making the final decision.
The Question Of Aflatoxin

Production of peanuts often involves a lot of humidity. That wouldn't be too much of a problem, if one of the resulting molds, the aflatoxin weren't considered as a carcinogen. Although it is all but impossible to produce a peanut crop that will be completely devoid of aflatoxin, it is nice to know that, stateside, the amount of allowed aflatoxin in peanuts has been regulated to 20 ppb (parts per billion). However, if you want to stay as safe as possible, you should make your butter only out of the peanuts grown in areas and countries that have very low humidity levels (e.g. New Mexico).
As we can see, the type you will choose will largely depend on your personal taste. If you want that good old pale brown color and traditional taste, you will probably have to go with the raw runners. If you want to eliminate the aflatoxin out of the equation, you should probably choose the Valencia peanuts. Boiled peanuts can spend more time in the freezer, while the raw nuts have a stronger flavor. Put all these things to paper, and you will quickly find out what to value the most.
The Best Recipe To Make Peanut Butter At Home
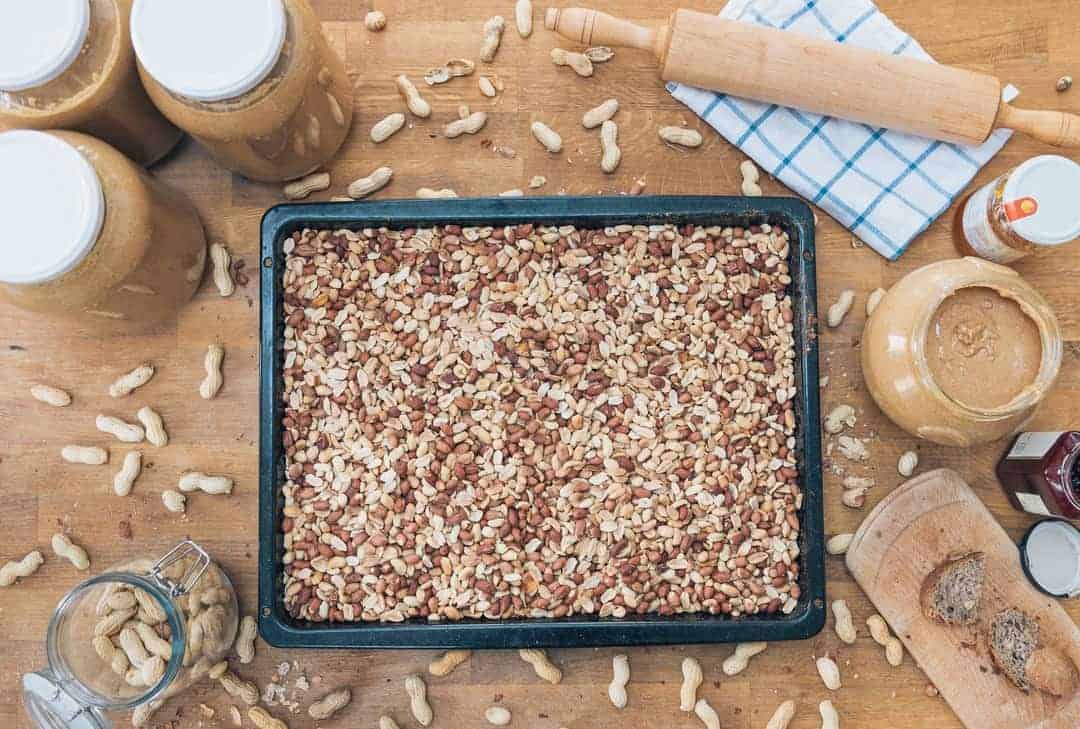
Now that you have gone through the ordeal of choosing the best peanuts, you will be glad to know that making the butter is not that hard. In fact, you can make it in less than 15 minutes. The road to excellent food is paved with many details, so we will take it slowly and go one-step at a time.
Roasting The Nuts
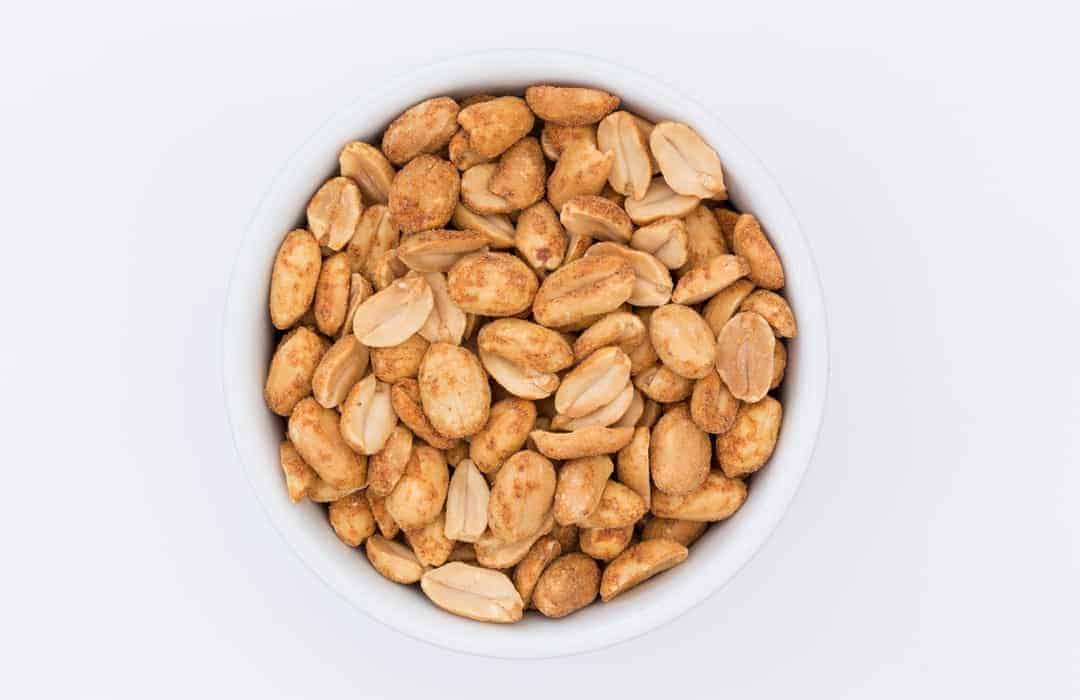
Depending on the choices you have previously made, your peanuts may be raw or already roasted. The good news is that in either of these cases, you can't go wrong. Even if the peanuts have been roasted, if you give them another tour, you will bring out more aromas and flavors. Essentially, you can do roasting in two ways – put them in the oven or dry-roast them in a pan.
Although popular presenter Alton Brown prefers to fry his peanuts in a wok, this time I will have to side with Molly Sheridan. Putting the peanuts in the oven requires less work and grants more even color. So, toss the peanuts on a sheet pan, add a small amount of oil and put the pan in a heated (350°F) oven. Take the nuts out every few minutes to stir them, and finish the roasting when they start to get that distinct, brown color. If you want to, you can use more than one type of nuts to enrich the flavor.
If you've used your pan for quite a long time and want to replace it with a new one, I think the review of best lasagna pan is useful for you to choose a roasting pan. But you can also consider buying a bake ware set which includes a pan. Buying a set is especially ideal for people those who love baking and don't want to miss any item. This is a review of best bakeware set that will help you a lot.
Finding The Right Mix
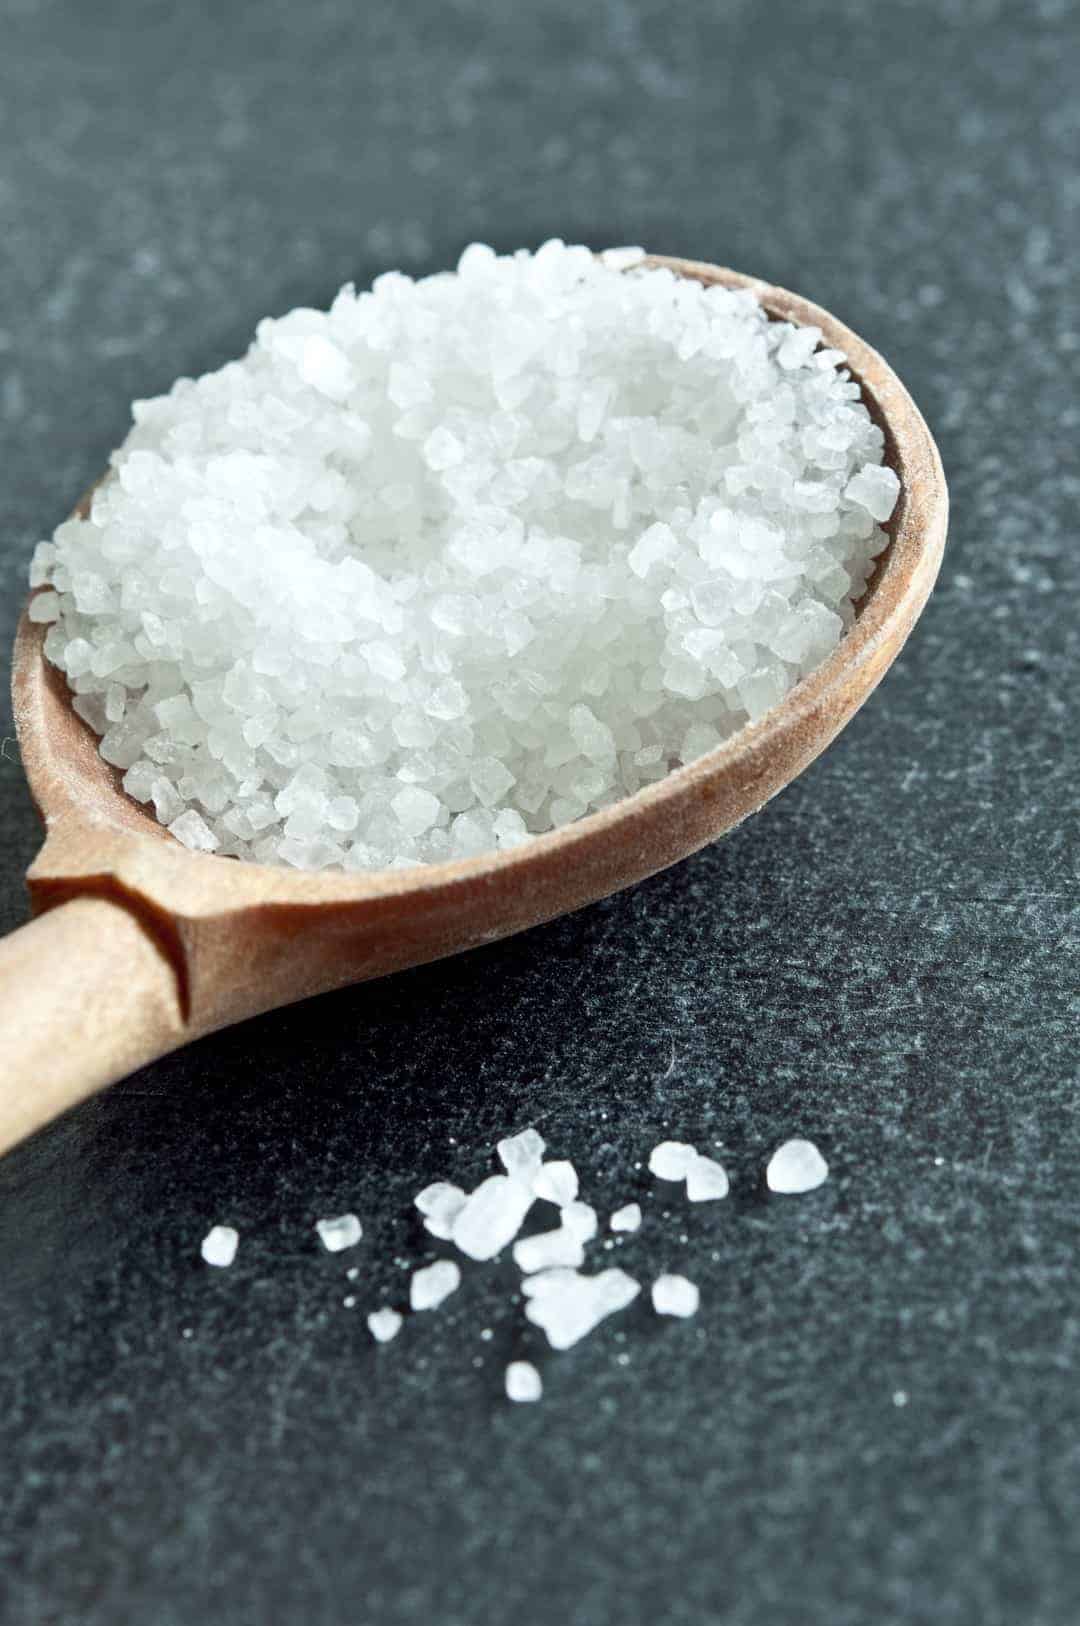
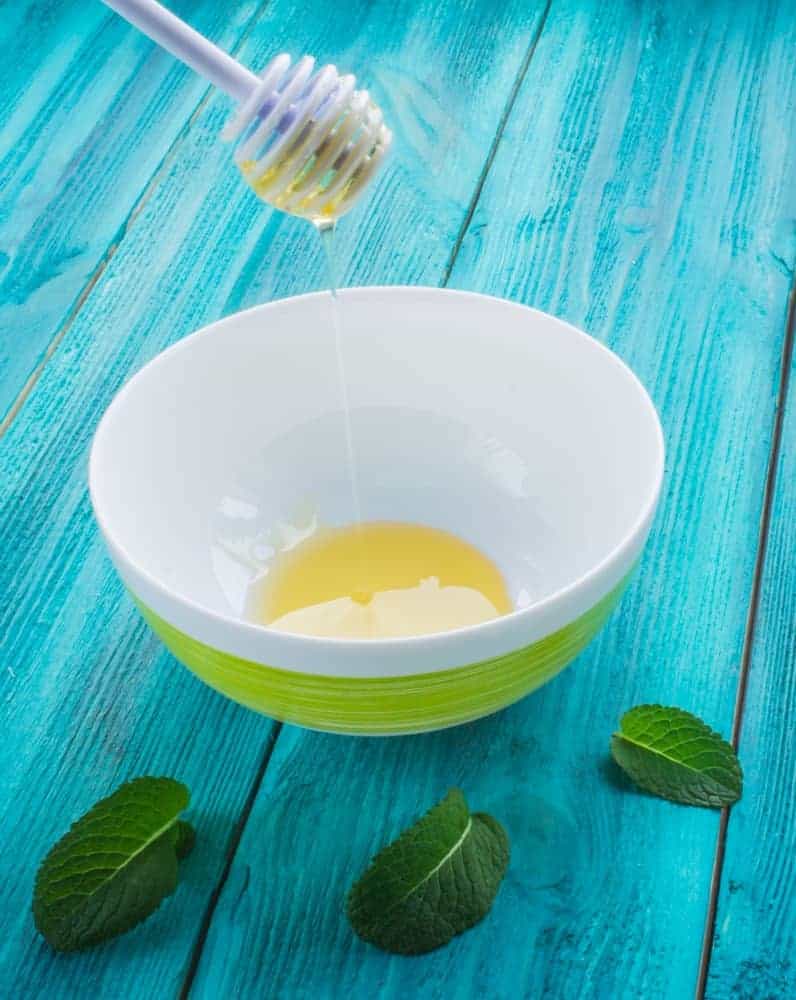
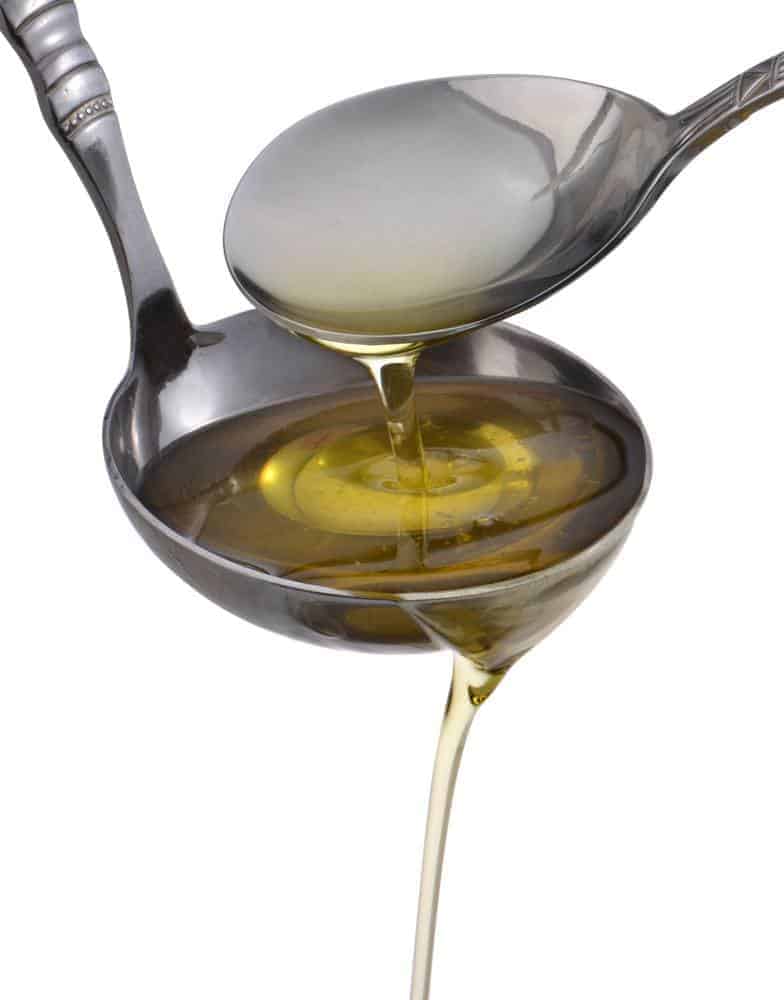
Now, when the peanuts are finally prepared, it is time to start mixing them with other ingredients. This is the part where all things can go south, so be careful. For every 15 ounces of peanuts, traditional peanut butter recipe requires these three ingredients:
- 1 tablespoon of kosher salt
- 1 ½ teaspoon of honey
- 1 ½ tablespoon of peanut oil
Since the type of the peanuts is not explicitly mentioned, you should take these measures more as a recommendation than a prescription. For example, nuts like macadamias have a very high oil concentration, so if you use them into the mix, you should reduce the oil a bit. In addition, if you have already used the oil while roasting, the peanuts should become looser and blend into the smooth butter even without the further additions.
On the other hand, if you have a sweet tooth, you should probably use up to three teaspoons of honey. Be careful though, some peanuts like Valencia are very sweet from the get-go. Exotic additions like vanilla, cocoa, and Nutella are entirely up to your personal tastes.
Processing The Mixture
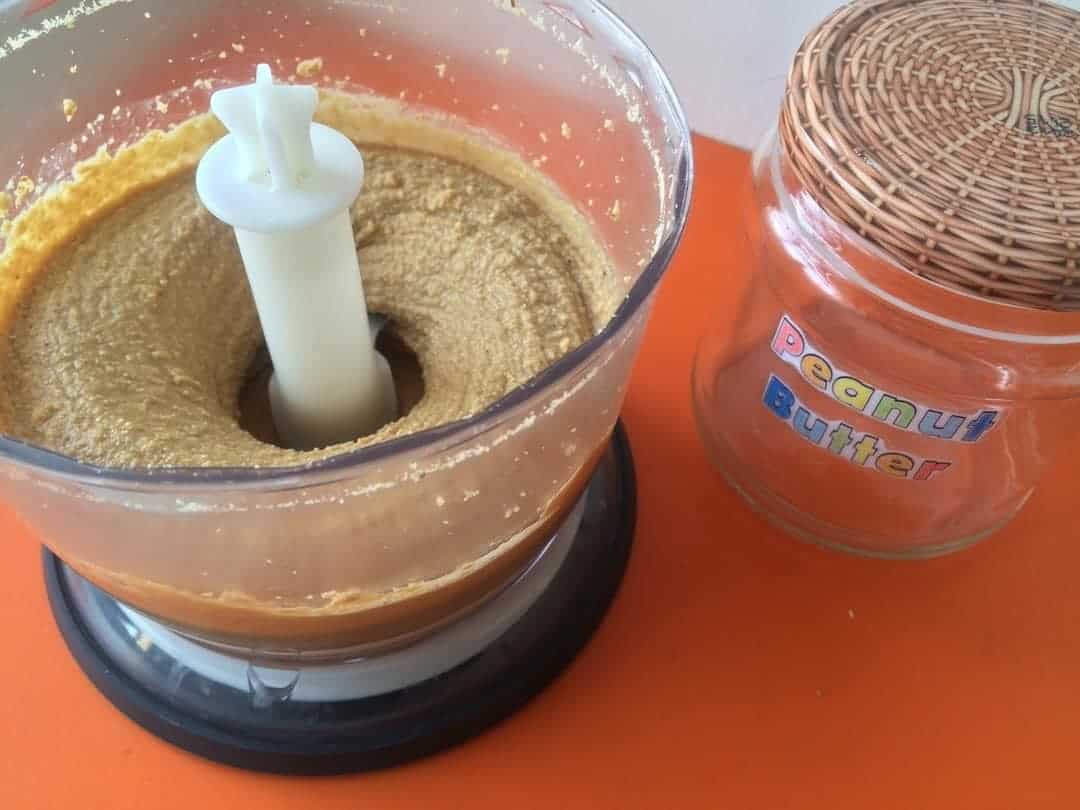
Processing-wise, peanut butter is not that demanding. Any food processor you may have in the house will do the job more than well. According to thekitchen.com, you should pulse the peanuts while they are still warm to preserve the flavor, and I can do nothing but comply. The additional one-minute run will make sure they are completely ground.
Now is the time to add other ingredients and start processing the butter. If you are not sure about the mix you have made, you can gradually add ingredients after each run (one by one or a little bit of all) and see how the butter behaves. Be careful; you will not be able to see just how smooth the mixture actually is after the first try, so resist the urge to add more oil immediately. Process the butter in few more one-minute runs before you make the final judgment. If the butter is still gritty and not creamy enough, adding a little more oil will not overwhelm the taste of the nuts.
Be ready to set your expectations to realistic, though. Homemade peanut butter will never be as smooth as the one you can buy at the store. That is the part of its charm. If you try to make it that way, you are only going to ruin a perfectly good butter.
Once you are done, the only thing left to do is to put the butter in a storage container and refrigerate it. As soon as the blend cools off and tightens, the butter will be ready for eating.
In case you got a lot of peanut in your kitchen or you love to learn about another dish made of peanut, whipped peanut butter is a good idea for you. It is a creamy and sweet dessert with just two ingredients. This easy-to-follow recipe will benefit you a lot.
Raw or commercial, peanut butter is a classic addition to any plate. A slur of flavorful, rich peanut butter combined with other ingredients can definitely make an appetizingly decadent bite.
With best cheese slicer and best popcorn kernels, you're ready to take the pairing expertise to the next level!
Peanut Butter and Grilled Cheese Sandwich
Who says peanut butter and cheese don't complement each other? The first time I dip my string cheese in my peanut butter made me fall in love with the taste and share the delectable news with my family and friends. Dietitians would surely approve this recipe for their next diet.
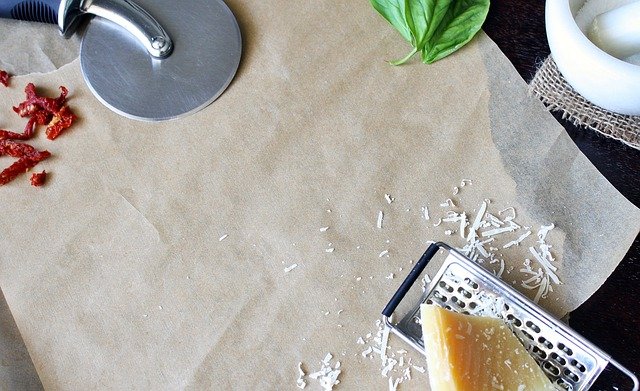
As the name implies, gooey, sweet peanut butter and melted cheese is a tasty combo! Here's how to make one for your craving tummy.
Ingredients 2 slices of bread 1 slice cheese 2 tbsps peanut butter 2 tbsps butter or margarine | Directions
|
If you want to add textual contrast, you can serve nut butter and cheese with pear or apple slices. These and other fruits impart a delicate acidity as well to keep the mixture from becoming extremely heavy.
Walnut butter has a bit tannic quality that rages its buttery, deep softness. If you love walnut peanut butter and want to jazz up your dietary routine, you can pair it with tangy or rustic goat's milk cheese.
Who wouldn't love almond peanut butter? These creamier, sweeter, and more subtle nuts are best paired with nutty cheeses such as coconut, toasty caramel flavors, manchego, and butterscotch. It can also give a delicate floral smell, which greatly blends with herbal cheese or lightly fruity varieties.
Peanut Butter Popcorn
A salty, crunchy and sweet snack you'll surely be making over and over, nothing is more delectable and crowd-pleasing than peanut butter popcorn. The recipe may sound weird for some, but believe me, you will lick your fingers as soon as you reach the end of the bowl. The protein and healthy fats contained within the peanut butter mixed with the whole grain fiber and any other minerals contained in the popcorn makes this snack guilt-free.
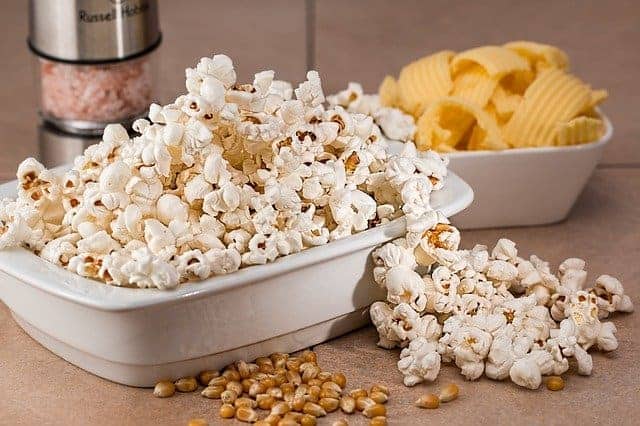
Ingredients 1/2 cup popcorn kernels white or yellow 1/2 cup creamy natural peanut butter Salt to taste | Directions
|
Share the peanut butter popcorn with your whole family or set of friends for a special event or gathering and enjoy every delicious, crunchy bite you will make - no forks required!
Give any of these ingredients a nice try!
Tips From Professionals
If you want to do it right, the best way is to learn from the professionals. There is no secret behind their success, just experience and the willingness to share that experience with you and the rest of the world.
After doing some research, I've found some useful tips and tricks from the professional and proved self-taught cooks, popular websites and communities, summed it all up and brought it up to you in the section below. After reading this, making a homemade peanut butter should be a breeze without any difficulties whatsoever. There are many tricks and different approaches that you can test out and see which mixture or method suits you the best.
One of the leading media and news sites, The Guardian, has a lifestyle and food sections where I have found some useful tips for you.
As for the grinding, Averie Sunshine said that, although you will require a food processor to make a good peanut butter, it does not have to be an expensive one by any means. Hers Kenwood proved to be quite up to the job. You will just have to make sure to allow the nuts to cool off before use or you will end up with a pourable peanut butter. Soak them in water for 20 minutes to soften them and then get rid of some excess salt – this is necessary if you use a blender. However, Averie found that it will give the butter almost fluffy and odd texture, so it is advised to use a food processor.
If you're a foodie, there's basically no chance you haven't heard of TheKitchn. Founded in 2005 by Sara Kate Gillingham and Maxwell Ryan, it developed into a behemoth that reaches 17 million people every month, with a fully staffed diverse team of writers, editors, recipe developers, and photographers. These people know what they are talking about when it comes to food.
Emma Christensen from TheKitchn wrote that you should be prepared for the fact that your homemade peanut butter will never be as perfectly smooth as some commercial peanut butter as you can buy in the local market. To make it a little smoother, she said, you could add a bit of oil to help bump the creaminess. You should also use a powerful blender or a food processor to make a difference. She also thinks that toasting the nuts before blending will also help a lot – this will warm the oil in the nuts and help everything to blend together.
A food blog created by Adam and Joanne Gallagher, Inspired Taste, is their creative outlet, and they love that it allows them to connect with their readers. They will always find a connection with them through food and cooking promotion. Some of their best memories and connections with others came through food.
Joanne and Adam said that they like to add almonds to the mixture and sometimes they even make chocolate peanut butter, which they say is seriously good. They stated that they love that you control everything you mix. For instance, the amount of honey or salt is completely up to you. In addition, sometimes they like to make their basic peanut butter crunchy. For them, it should be all simple with the food processor (which is required), and it takes only 15 minutes to make a homemade peanut butter.
PinchOfYum is one little website of a former 4th-grade teacher named Lindsay who loves to write, cook and take pictures of delicious food. She has spent the last five years teaching elementary scholars by the day and blogging about food by night, loving both jobs. She is a food enthusiast with an appetite for almost anything.
Lindsay's recipe is quite straightforward, and you will only need two cups of dry roasted peanuts, up to two tablespoons of honey or sugar and additional salt to taste. It all goes down from the food processor in which the peanut is ground for about four to five minutes. You can stir in the sugar, honey or salt if you like. Store it in the fridge or even a room temperature will suffice. She recommends the fridge though, especially if it is going to be several weeks before you decide to serve it.
What you will find on BrownEyedBaker are some of Michelle Norris' favorite food groups such as appetizers, desserts, and loads of comfort food and all made primarily from scratch. Born and raised in Pittsburgh, Michelle was a marketing analyst in a few different cube farms before she completely engaged herself in cooking and sharing her own recipes, tips, and advice on her web page.
Michelle has noted that she made batches of peanut butter in the food processor as well as in Vitamix blender. Both worked well for her, but she found that the food processor was a much easier way to go. When she used a blender, she had to push the peanuts down into the blade until at one point it started to smell like burnt motor. Michelle definitely recommends a food processor if you have one. If you don't, feel free to use a blender, but you will want to break it up into smaller batches to be more manageable.
Wikihow.com is a worldwide collaboration project of thousands of people who are focused on one goal, and that is teaching anyone in the world to do absolutely anything. Jack Herrick founded it in 2005, inspired by the same educational goal that guides the site today.
Tips given from this website were from the recipe adapted from the cookbook "Not Just Beans." The book says that if you like crunchy peanut butter, you should set around a quarter cup of peanuts aside and chop up the rest in the food processor. You should throw them in the food processor when the rest of the peanuts are done and smooth in consistency. Process them for a few seconds more to create the chunks. In addition, if it is too salty, you should add more honey or sugar. However, if you like it smooth, it is advised to add a little bit of water into the blender.
BlendTec was founded by a lifetime entrepreneur and inventor by the name Tom Dickson. He was innovating before he built his first blender; his passion for innovating and tinkering goes all the way to his childhood. At BlendTec, one of the things that keep the team inspired is seeing how their products make a difference in other people's lives. Thus, the website was modified with a blog section where you can find many interesting recipes, tips, and tricks.
Their method requires three cups of roasted and unsalted peanuts, one tablespoon of kosher salt and two tablespoons of peanut oil. First, add peanuts and salt to their WildSide or FourSide product jar and secure the lid. After blending on low speed for 15 seconds, increase the speed to high and blend for 50 seconds. Using a spatula, you should move peanuts toward the center of the jar and add oil securing the lid. Then, blend for 50 seconds on medium speed and lastly for 50 seconds on high speed.
The ideas developed by Serious Eats team are tested and tasted by their dedicated in-house recipe developers, a group of professionals obsessed with food. They are mindful of modern techniques staying rooted in the repertoire of the traditional home-cook at the same time. They will not post a new recipe until they are entirely sure that it is different and better than anything you will find anywhere else. In addition, they are constantly updating their old methods with new improvements based on reader suggestions.
Molly Sheridan from Serious Eats team has noted that if you purchase your peanuts raw, you should toss them on a sheet pan with a little oil and bake them in the oven, occasionally stirring until they begin to brown. When she speaks of oil, in her experience, she said that using a small amount of coconut oil and storing the finished product in the fridge will result in butter which will hold together without getting oily on top or dry at the bottom. Though the oil is not neutral, she did not find that it will overwhelm the taste of the nuts.

Food Network is a lifestyle network, magazine, and website which connects their huge audience to the joy and power of food. The team behind tends to be the viewer's companion in food and is committed to leading by inspiring, teaching and empowering through its expertise and talent. Since launching in 2009, Food Network grows its international presence in more than 150 countries.
Author Alton Brown advised that you should remove shells from peanuts and discard them. He said to remove the skin by rubbing the peanuts all together in your hands holding them over a salad spinner and allowing the peanuts and skins to fall straight into the bowl. When the skin has been loosened, you should close the salad spinner and spin it until all the skin has been separated from the peanuts.

Food.com is the world's third largest food website, also an active social network of home cooks who share recipes, cooking tips, photos and food trends in one place. Created in 1999 by two ex-Microsoft technologists, it started as an idea to bring home cooks from all over the world together. It features over 500,000 user-generated recipes and over 125,000 photos including millions of reviews.
User Mimi in Maine brought this simple recipe for homemade peanut butter with just three ingredients promising the best peanut butter. It requires two and a half cups of salted peanuts, four tablespoons of vegetable oil (NO olive oil) and two tablespoons of honey. The peanuts should be ground in the food processor until they turn into a fine mixture starting to back down into the bowl. The oil is added during the process until it is well blended. After that, you should add honey, which will tighten up the whole mixture to become more solid. She noted that at this point, the texture should be soft as it sets in the fridge, and if it is too hard, you should add a little bit more oil.
Correcting Common Problems And Tips
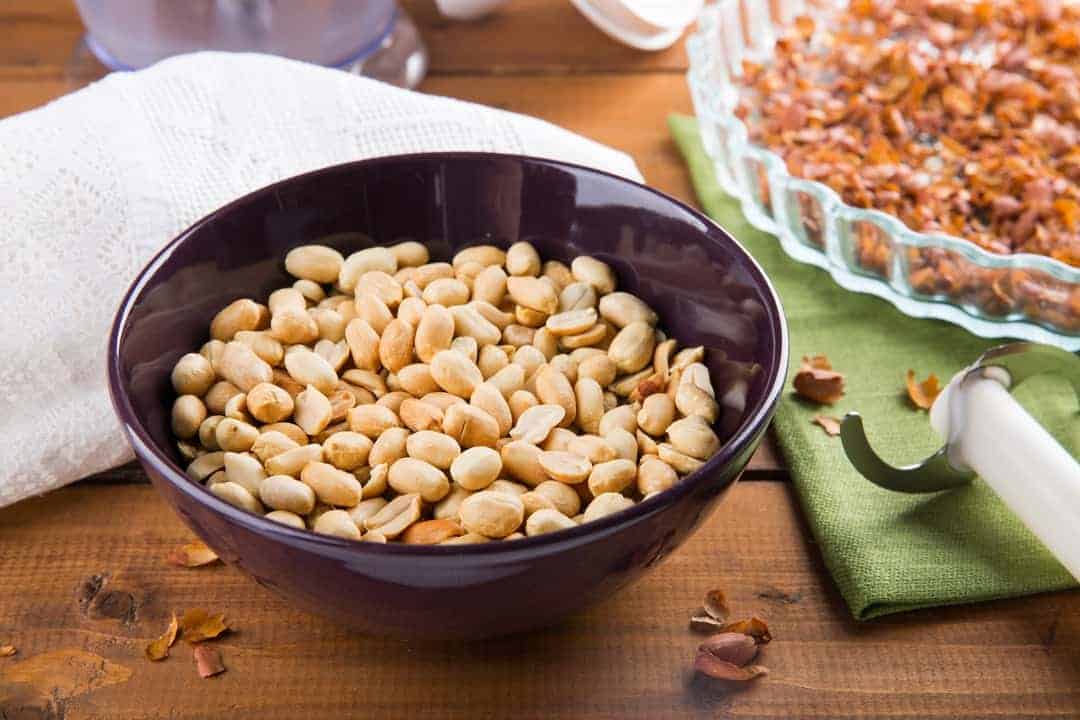
When making peanut butter, some common problems can occur during that process. As it seems, several issues bother an average enthusiast trying to make the homemade peanut butter. I have done some research, summarized most common problems in seven most common ones, and found the best solutions and tips you can try to fix them:
1. Peanut Butter Is Too Thick
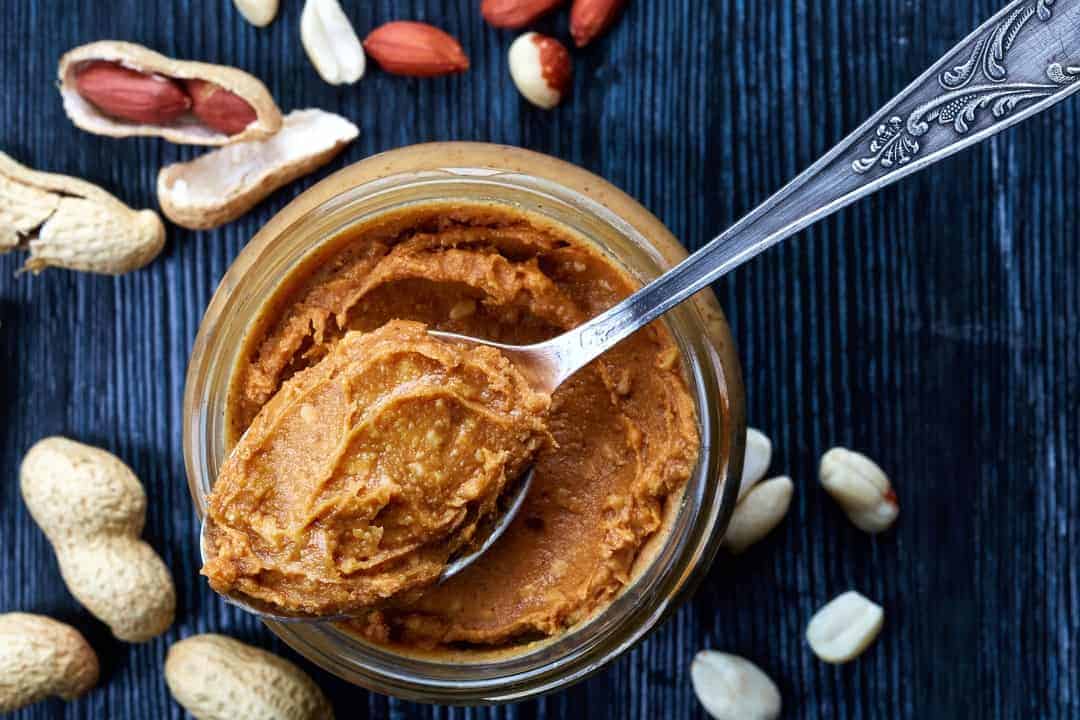
This is one of the most frequent problems that you can encounter. You managed to make your very first peanut butter, but unfortunately, it turned out too thick. You need a loosened mixture, but not too much.
The simplest way is to add a bit of evaporated milk to the melted peanut butter chips. Then you will want to melt the chips in a double boiler avoiding the microwave and stir the milk in. When you are satisfied with the consistency, dip a wooden spoon into it to check the consistency and the level of thickness.
In addition, you can try adding softened butter to the melted, but slightly cooled chips and beat that up. You will need fat/shortening in the mixture to keep it creamy and smooth. Try different combinations and amounts of loosening solutions to hit the perfect thickness. After a bit of experimenting, you will eventually get it right once you work out the details.
2. Peanut Butter Is Hard Out Of The Fridge

First of all, the question is: do we really need to put peanut butter in the refrigerator? Actually, there is no single answer for this. Usually, you should follow the manufacturer recommendations on the label. In the case of the homemade peanut butter, you have to decide. One possible benefit of refrigerating peanut butter is that it will keep the oil from separating out. The downside is obvious – the peanut butter is hard out of the fridge making it impossible to spread in a cold state.
The safest way is to put it in the microwave or hot water, and you are good to go. However, there is another solution, which prevents this from happening (at least minimizes the chance for hardening). Before you put it in the fridge, stir it really well and thoroughly. Otherwise, you will end up with the cement at the bottom.
On the other hand, you could just set in on the countertop and turn it repeatedly every few hours whenever you walk through the kitchen to open the fridge in boredom and admit it – everyone does it, so maybe this way you can make it worth your while.
3. Can I make Crunchy Peanut Butter Creamy?
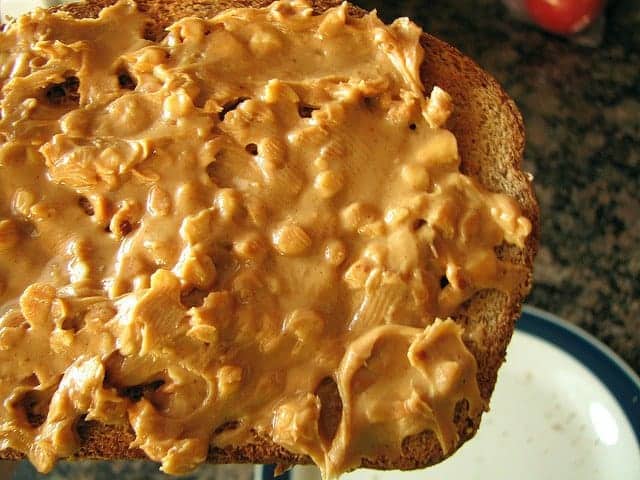
Via www.vimbly.com
The beauty of a homemade recipe is that you can adjust it to your own personal preferences. Making a homemade peanut butter is deceivingly easy, and the only limitation can be the availability of a food processor. The thing is – if you want your peanut butter to be creamier rather than crunchy, maybe it is time to get one. That being said, if you like your peanut butter smooth and creamy, you should get fine chops of the peanut used and pulse it a little longer in a food processor. It is also possible to grind the crunchy peanut butter to make it creamy.
You could try using a coffee grinder as well, just remember to leave it soaked in soap water for a bit, and it should do the trick. Using a coffee grinder should also make it easier to clean. On the other hand, if you want to use a blender, it could be somewhat harder to get it out and clean. In that case, try to mix something else like oil in to make it liquid enough to blend and to thin it out. Be aware that most of the oil will come back out of the emulsion later, but you could just pour it off.
4. Is It Possible To Make Peanut Butter Without The Food Processor?
One of the biggest issues (or situations) that people face when trying to make a homemade peanut butter is not having a food processor, which can ground the peanuts to the fine level. This fact usually discourages people, and the beauty of making a homemade peanut butter is not happening. That is a waste, and here is how you can surpass this situation:
- Do you have a coffee grinder? You can use it to ground the peanuts very efficiently. Making large amounts of peanut butter can be troublesome for some food processors and can make some costly problems. The nut butter gets smooth in a coffee grinder quickly. Having said that, the only thing you will lose by doing this way is the time since you will have to repeat the process of grinding a few more times. In addition, if you want to make mixtures, it is very easy to clean afterward.
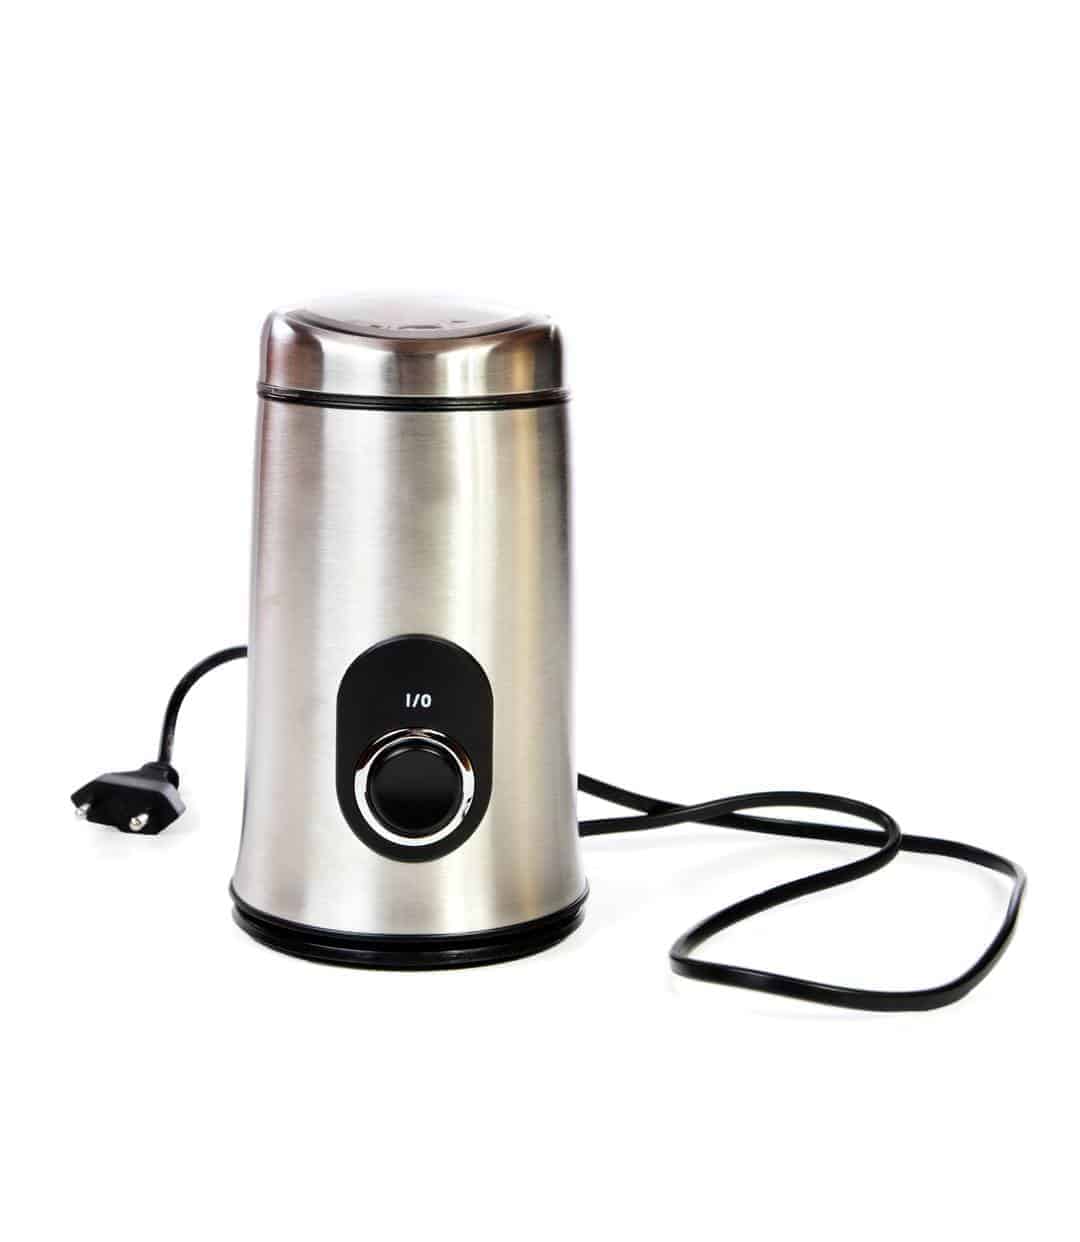
One thing you should definitely remember when you decide to use a coffee grinder is to expect some coffee taste, especially if you have used it to grind coffee for a long time.
- Stick blender is another efficient solution. If you like to make smoothies, hummus, and purees than you probably have an immersion/stick blender. A stick blender can also be used for making peanut butter but it will take a bit of work, and you should be more careful, though. You can blend a can of peanuts and make a peanut butter in a matter of minutes with this method.
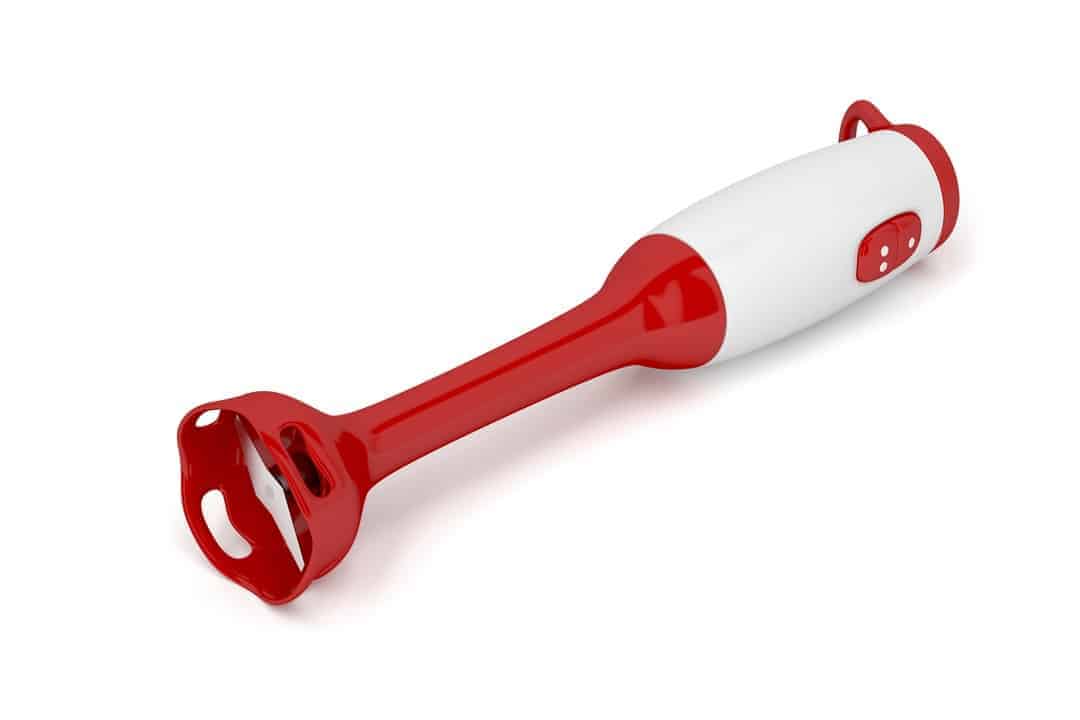
First, make sure that the peanuts are salted. Otherwise, you will want to add a little salt first since it will blend easier. It will also be useful if you add a half a spoon of coconut, peanut or canola oil. However, the peanut butter will tend to stuck in the immersion blender. The solution is to lift it up and run it a bit more until the peanut butter falls back down. You should repeat that each time if it gets jammed up, and after a little while, it should be smooth enough to blend up the rest of the peanuts with no problem at all.
Sometimes, you can find a blender with a base for both a pitcher and a food processor attachment. These attachments have their own blades and process different food efficiently. This is the best crossover solution when it comes to peanut butter blending.
5. Homemade Peanut Butter Is Runny
Via javacupcake.com
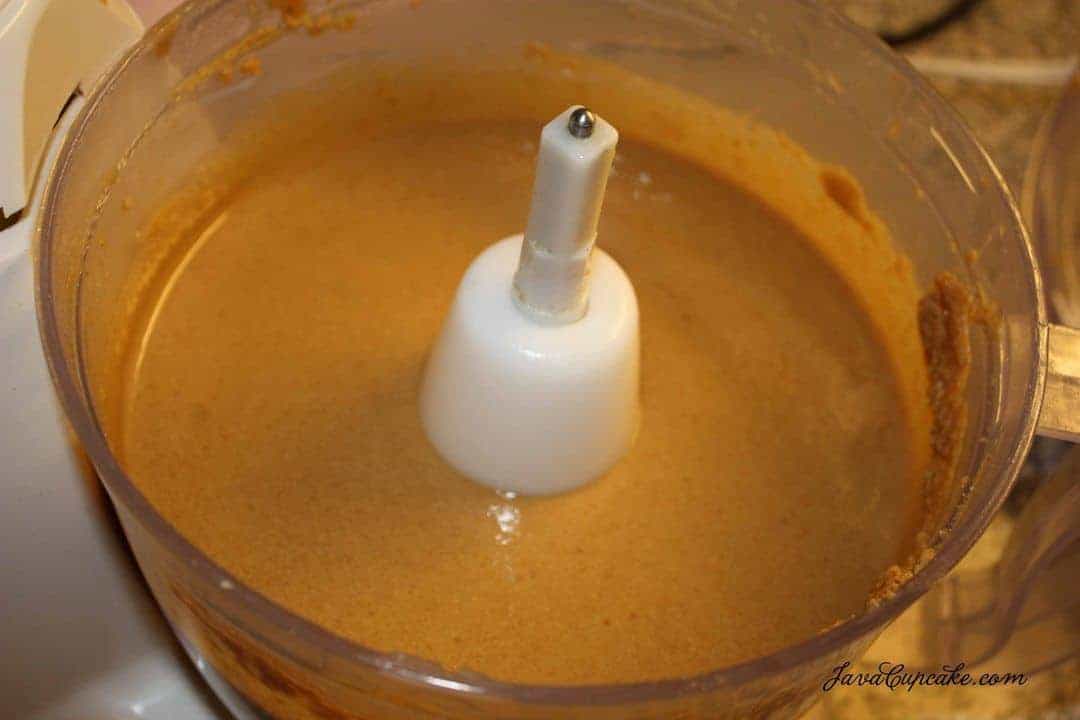
Sometimes, when making a homemade peanut butter, you will find that you have a peanut butter that is thin and runny and it won't hold onto a knife and keeps running out the side of a sandwich. The usual advice for this situation is to refrigerate it. However, this is just going to mask the viscosity and make it solid. You even may not like cold peanut butter, so this solution is not suitable. So the question is how to thicken it and prevent your peanut butter from being runny?
First, when you make homemade peanut butter, do not add oil unless you want it to be runny. Peanuts naturally have a good amount of oil in them, which will rise to the top of the jar. Now, to fix what you have already done, you will want to grind more peanuts without any additives, and then add it to the runny mixture. That should thicken it a bit, but you have to be careful not to go too far because it can get too thick, and put you in a different problem.
Another way is to add up to three tablespoons of sugar, and about a quarter of a teaspoon of salt. Blend it gradually, taste it and add more if needed. It should be a simple process, and it takes just about a minute to mix it all together.
6. Can You Melt The Peanut Butter In The Microwave?

With the million recipes out there that feature the peanut butter, there are tons of possibilities to incorporate in these recipes. Many are considered that microwaving the peanut butter can affect its quality, or are simply wondering if this is a proper way to melt the peanut butter. The answer is – yes, of course, you can, but there are differences in what you'll get as a result, and will it be suitable for your recipe.
Microwaving usually stimulates and fastens the oil separation from the butter (which can be a great thing if your recipe requires it), making the mass not suitable for your projected treat. On the other hand, liquefying (another expression for melting, used to combine the peanut butter with liquids while melting to get the sauces or dressings, creams, and other different stuff) requires additional techniques that warm and melt the peanut butter.
Those can include:
- Mixing with hot liquids while whisking
- Setting it up in a small container which floats on the hot water for a while
- Heating it up in a pan
- Microwaving for a short time, and then adding hot liquids (for fine mixtures)
- Microwaving and then heating up on the stove while stirring
As mentioned before, every method is suitable for a specific type of a recipe. You should follow the exact instructions of the recipe you have selected, and you'll do just fine. If you don't have the exact explanation on how to melt the butter, use a microwave combination, or mix-with-hot-liquids approach.
7. Homemade Peanut Butter Seizing up
Depending on what you use to ground the peanuts and what you add during the process, the mixture might start to misbehave, making the extraction from the blending compartment a tough job. This often happens in if you use a regular blender instead of a food processor; the taller and narrower sides of the blender are not as comfortable to extract the butter. So if possible, please use the regular food processor instead.
Next, the amount of oil you use might be the problem; the right mixture will be buttery smooth, but if you use too much oil, you will not get a quality butter. In fear of this outcome, many use less oil during preparation and use water or similar liquids to loosen the ground peanuts. Big mistake. The oil is terrible to mix with water, and the honey is very tough to blend in. So be careful and do not use liquids to loosen the mass.
Too much grinding is the next reason your mixture might stick to the grinding cup. In an effort to reach the perfect creamy texture, many of them blend for way too long. No added ingredient will help you in this case – you will end with a peanut butter seizing up the walls of the grinding compartment.
The amount of peanuts you try to blend is another reason that might cause this problem. You simply have to split and organize the batches, so they are not too big. Larger amount requires longer grinding, getting you near the previous problem.
Resources and further reading
1. 8 Health Benefits of Peanut Butter – Care2.com
2. Balancing Carbs, Protein, and Fat – Group Health Foundation
3. Health Benefits Of Peanut Butter – Organic Facts.com
4. Health Nutrition Research / Disease Prevention – Peanut-Institute.org
5. Does Peanut Butter Boost Testosterone? – LiveStrong.com
6. What Is a Healthy Serving Size of Peanut Butter? –HealthyEating.SFGATE.com
7. How Long Do Nuts Last? – EatByDate.com
8. Roasting Does More than Enhance Flavor in Peanuts – United States Department of Agriculture
9. Fun Facts About Peanuts – WhitleysPeanut.com
10.Friday Food Fight: Organic vs Natural Peanut Butter – IntentionallyDomestic.com
11.Wok Fried Peanut Butter – AltonBrown.com
12.DIY Peanut (and Other Nut) Butters – SerousEats.com
13.How To Make Homemade Peanut Butter – TheKitchn.com
14.How to make the perfect peanut butter – TheGuardian
15.How to Make The Best Homemade Peanut Butter – InspiredTaste.com
16.5 minute homemade peanut butter – PinchOfYum.com
17.DIY: HOMEMADE PEANUT BUTTER – BrownEyedBaker.com
18.wikiHow to Make Peanut Butter – WikiHow.com
19.Peanut Butter – BlendTec.com
20.DIY Simple Peanut Butter Recipe – SeriousEats.com
21.Homemade Peanut Butter – Food Network
22.Homemade Peanut Butter – Food.com
23.Do I need to put peanut butter in the refrigerator? – ATCO Blue Flame Kitchen
24.How to Make Homemade Peanut Butter (Crunchy or Creamy) – MissWish.com
25.How to make Peanut Butter With A Vitamix Or Food Processor – GreenThickies.com
26.How-to Thicken Natural Peanut Butter – HomemadeEats.com



wow what a comprehensive and very informative article. I have ben meaning to make my own peanut butter for some time now, and this post certainly provides me with some great tips. thanks for sharing x