Have you forgotten how to soften your cream cheese for a specific recipe? Then don't worry because I'll be teaching you how to soften cream cheese properly. You can either choose a microwave, a water bath method, or room temperature.
One time, I tried to mix refrigerated cream cheese manually, and I never felt such struggle in my arms just to get a smooth texture.
That's why I have made an effort to search for easy ways on how to soften hard cream cheese more easily. If you want to know the results of my research, keep reading below.
More...
What You'll Need
Cream Cheese
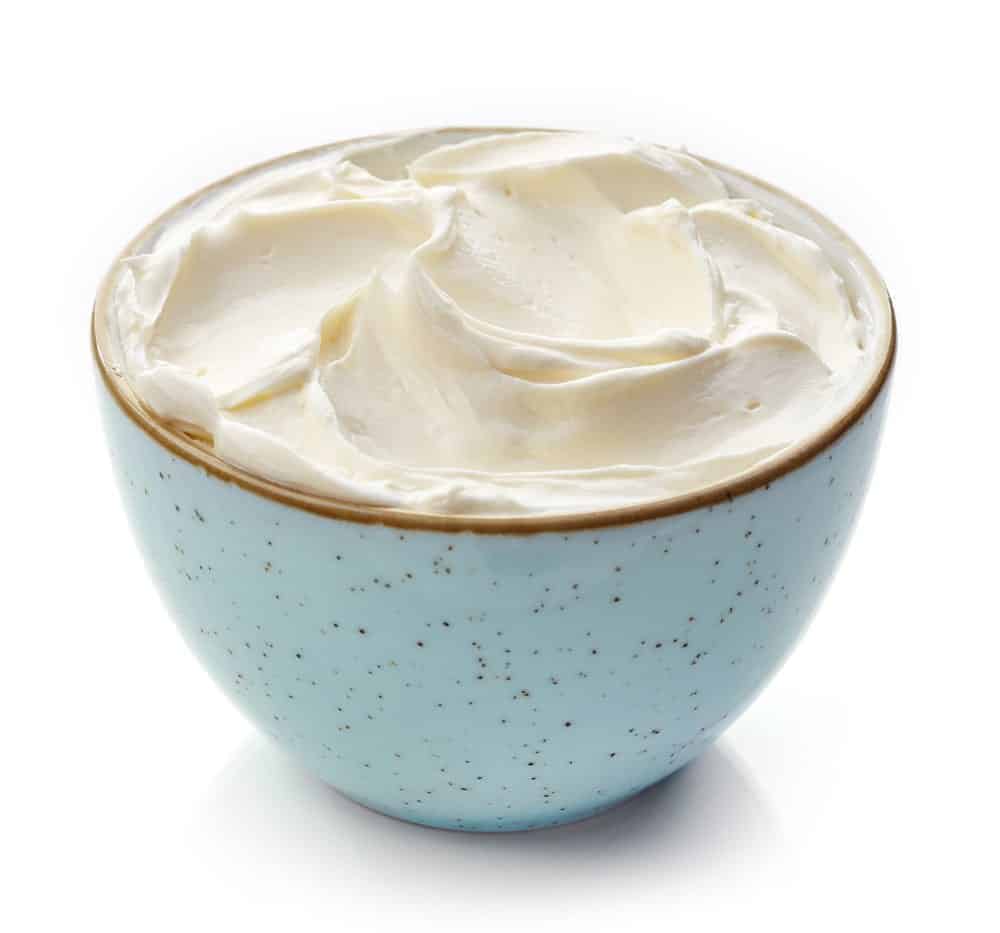
Everybody loves cream cheese because of its pleasantly tangy and mildly sweet flavors. This white cheese is hardened with the use of lactic acid, and that's why you get a hint of a mild lactic aroma.
In the United States, it's widely used to enhance the quality of cheesecakes, desserts, and frosting.
Unlike hard cheeses, cream cheese doesn't last longer. In the refrigerator, unopened cream cheese can last up to 3-4 weeks while the opened ones may only last up to two weeks.
When it's time to use the cream cheese, you can soften it in the microwave, water bath, or room temperature.
For Option 1- The Microwave
Microwave - Safe Plate

The plate will serve as the container for your firm cream cheese in the microwave. You want the plate to be microwave-safe so it can endure extreme heat.
Unlike plastic plates, ceramic or glass plates don't impart any chemicals when heated under high heat temperature. Although you can use a bowl, a plate is preferred because it makes the scraping of cheese easier.
Knife (Optional)
Sometimes, when you microwave a whole slab of cold cream cheese, the middle part may be left a little cooler.
To ensure that your microwave will soften the cream cheese evenly, cut the whole slab of cold cream cheese into chunks. You can use any knife you have at home, just make sure that it's thoroughly clean.
Fork Or Spoon
The fork or spoon will serve as a test of your cream cheese's consistency. After you have heat the cold cheese for about 10 seconds, remove it from the microwave and press it with a fork.
If the cheese is already soft, then you're done. If it's not, microwave the cheese for another 10 seconds.
For Option 2 - Water Bath
Bowl
You need a large bowl to be filled with lukewarm or warmer water for the water bath method.
Any material will do as long as it's not plastic to prevent any harmful chemical from leaching into your cream cheese. If you only have a plastic bowl, makes sure that it's BPA-free.
Re-Sealable Plastic Bag
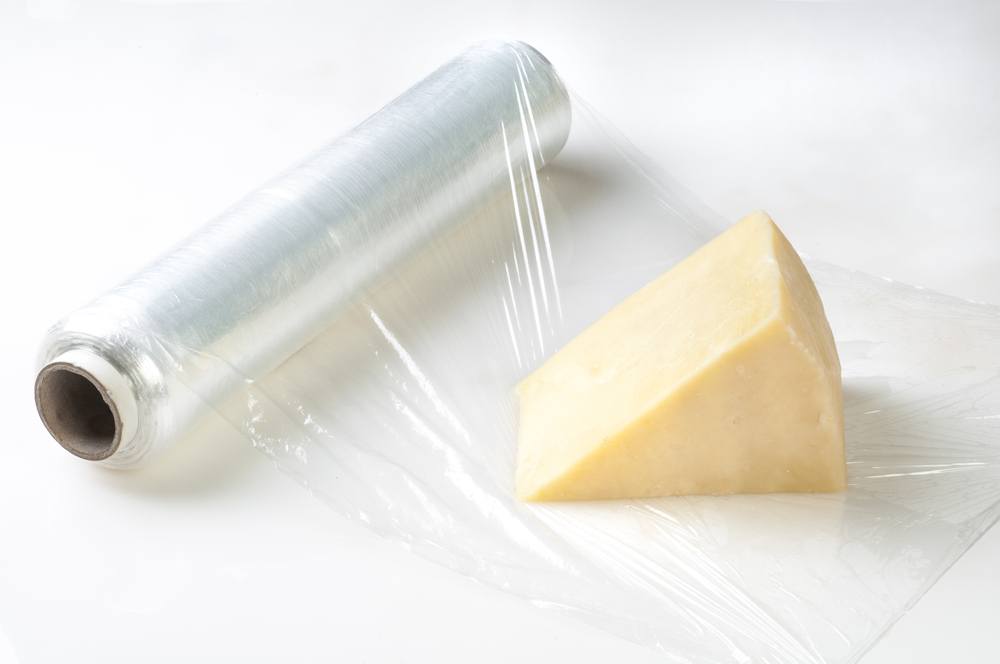
The plastic bag will serve as the container for your cold cream cheese when submerged in the water. You don't want any of those water to leak into your cheese, so you need to wrap it securely. What I use is a zip lock bag, just like this one.
Alternatively, you can use a cling wrap to seal your cheese securely. Again, look for a BPA-free plastic cling wrap to ensure safety.
Lukewarm Water

To soften the cream cheese well, you need lukewarm water. We'll use the water to fill the bowl.
If you find that the cheese is not softening enough, use warmer water. Hot water may not be advised because it can melt the cheese completely. For frozen cheese, cold water is ideal because it softens cheese more evenly.
Step-By-Step Instructions
Option 1 - The Microwave
In this method, we'll be relying on the heat of the microwave to soften the cold cream cheese. This is rather a faster method as compared to the water bath method. Get an overview of how to use softened cream cheese with a microwave in this video.
1. Prepare Your Cream Cheese

You can soften a whole block of cream cheese, or you can cut it into small chunks. I personally, prefer to cut the cold cheese into chunks to speed up the heating process.
To cut, use a knife to make about 6-8 cubes of cheese. After you're done cutting the cheese, place them on a microwave-safe plate.
2. Microwave For 10 Seconds

Put your cold cheese on a plate inside the microwave and set to "High". Heat the cold cheese for about 10 seconds. After the time has elapsed, remove the plate of cheese and check its softness as detailed in the next step.
3. Check For Softness And Heat Again If Necessary

With a fork or spoon, press the cheese. If the cheese gives way easily without resistance, then the cheese is soft, and you're ready to mix it with other ingredients.
However, if it remains firm, return it back to the microwave and heat it again for another 10 seconds.
If the cheese is still firm after the second trip to the microwave, heat it again for another 5 seconds, until the cheese becomes soft for your liking. For most microwaves, 20-25 seconds seems to be the typical time to work best.
Option 2 - Water Bath Method
In the water bath method, the cold cream cheese will be softened by the heat of the water. This can take between 10-15 minutes. Watch this video to learn more details about this method.
1. Pack The Cold Cheese
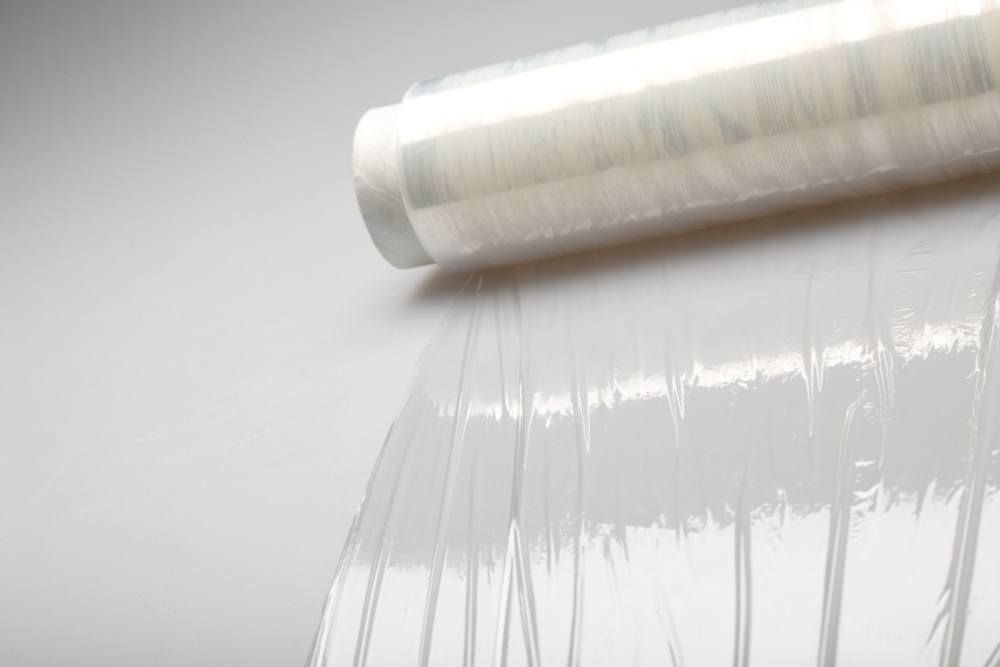
If the cheese is still unopened, you may directly proceed to step 3, where you submerge it into the water.
However, if it's already opened, transfer it into a re-sealable plastic bag or wrap it securely with a plastic cling wrap. The plastic bag and plastic wrap will keep the water from getting into your cheese.
2. Fill The Bowl With Water
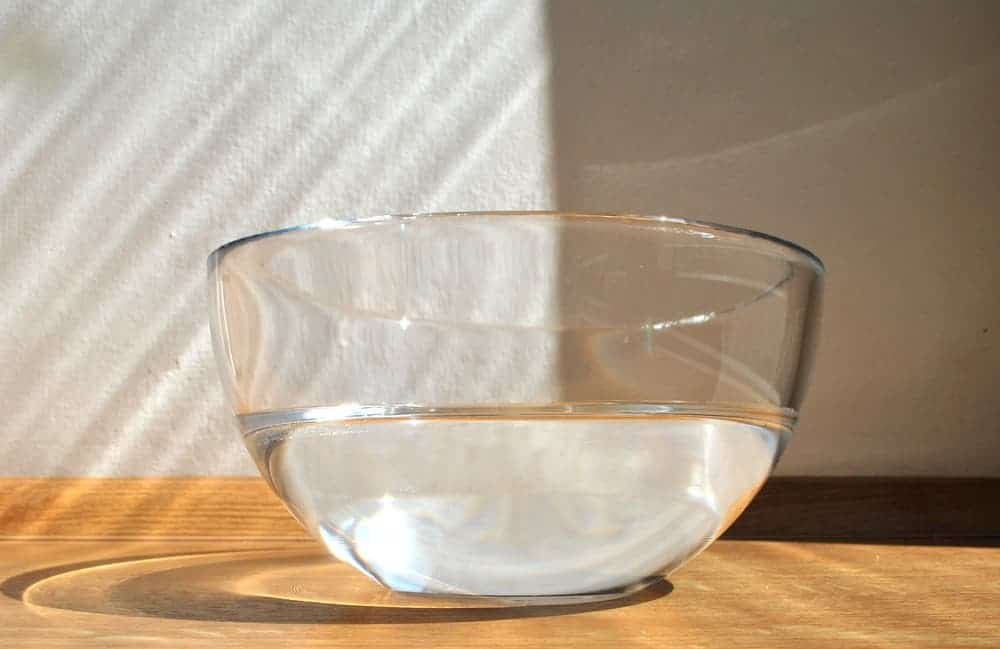
In a bowl, fill with it lukewarm water. If your cream cheese is frozen, use cold water to soften the cheese evenly. Hot water is not recommended because it can melt your cheese.
3. Submerge And Wait For 10 Minutes
Now that your bowl of water is ready, submerge the pack of cheese in the water. Make sure that the sealed edge is above the waterline to prevent water from getting in. You may need to leave the cheese submerging for about 10 minutes.
4. Check For Softness And Submerge Longer If Necessary

After 10 minutes has elapsed, take the cheese out from the water and gently squeeze it. If it still firm, let it sit in the water for another five minutes.
If it remains firm, change the water with a warmer one. Keep the cheese submerged until it becomes soft or it yields slightly to the touch when you squeeze it.
Option 3 - Room Temperature

The easiest, but the slowest way of softening cold cream cheese is to leave it out on the counter for about half an hour to one hour. The room temperature will soften the cheese gradually.
Since you don't expose your cheese to any heat, this is a great alternative if you want to keep the texture intact.
If the cheese is still firm after 30 minutes, let it sit for another half an hour. The softening period may vary due to different room temperatures, but normally, two hours is enough to soften the cheese well.
Tips From The Experts
1. Never Leave Cream Cheese More Than 4 Hours
To ensure safety, Clemson Cooperative Extension suggests not leaving your cream cheese at room temperature for more than four hours. If you did, there is a high chance that your cheese is already bad.
Unlike hard cheeses, soft cheeses, like cream cheese, have more moisture, so they spoil faster.
Exposure to air also makes the cream cheese develop molds easily. As you already know, molds are dangerous to health because they bring along harmful bacteria that may be detrimental to your health.
So, if your cream cheese has been left on the counter for more than four hours, it is best to throw it away.
2. Use A Quality Mixer
To save you the hassle of softening cold cream cheese, The Dairy Dish recommends using a decent mixer. With a good powerful mixer, you can mix up cold cheese fresh from the fridge. The best mixer that you can use is a stand mixer, like this one.
A blender can also do the job, just don't forget to add a bit of water to achieve a smooth consistency. A hand mixer may not be ideal because it will be a real struggle working with a cold, hard cream cheese.
Final Thought
Did you enjoy learning how to soften cream cheese properly?
If you like to have soft cream cheese quickly, you can choose a water bath method or the microwave. If you have plenty of time to spare, you can use the room temperature to soften the cold cream cheese gradually.
No matter your choice is, make sure that you don't leave the cheese more than 4 hours at room temperature, or it will grow some molds.
For questions or suggestions, let us know in the comments section below. Don't hesitate to share this article if you find this helpful.

